
Owaka Live Tracking tutorials
Welcome to this Owaka Live Tracking getting started tutorial.
This tutorial is divided into several chapters to help you learn how to use all the features of the Owaka Live Tracking platform. Feel free to navigate through this tutorial based on your needs.
0 | Owaka Satellite Beacon
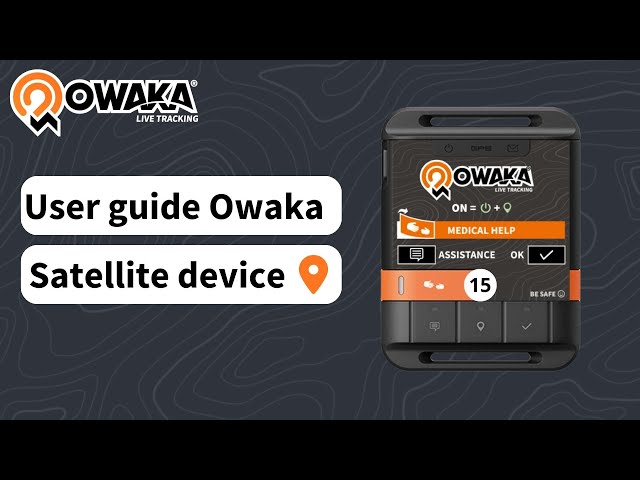
In this video, you'll find explanations about the operation of our satellite beacons (startup, positioning, sending alerts, ...).
To turn on the beacon: • Press the ON button once (located on the left side of the beacon). Wait for the lights to stop flashing, then press and hold the tracking button (located at the bottom center of the beacon) for about 5 seconds until the indicator light turns green. • You can verify that the beacon is on by checking that both the ON and tracking indicators are flashing green. The front face of the beacon should be oriented towards the sky: • In a car, place it on the dashboard under the windshield using Velcro. • On a motorcycle, use the provided attachments to mount it on the handlebars. • For runners/trail runners, position it on the shoulder strap of a backpack using adhesive tape. • For cyclists, attach it to the shoulder strap of a backpack using adhesive tape or on the bike itself (e.g., behind the saddle in bikepacking). During your adventure, do not turn off the beacon at night or during your breaks (the standby mode is automatic). To activate the medical alert: • Lift the orange cover and press the button for about 5 seconds until the indicator light turns green. • Afterward, do not touch the beacon and stay where you are (the organization will come to assist you). • Be careful not to press the button again (this would cancel your request for medical assistance, and the LED will turn red). • After the organization's intervention, if you can continue, don't forget to restart the tracking (as during initial setup). To activate the technical alert: • Press and hold the technical alert button (located at the bottom left of the beacon, with the message bubble) for 5 seconds until the indicator light turns green. • You can cancel the technical alert (if it was a mistake or the issue is resolved) by pressing and holding the OK button (located at the bottom right of the beacon) for 5 seconds until the indicator light turns green. Warnings: • For your safety and the proper functioning of this beacon, please take good care of it. • The batteries are new when your event begins. If needed, use only LITHIUM batteries (ask the organization). • Avoid using adhesive that leaves adhesive residue (such as medical tape). • Never secure the beacon with plastic ties (like zip ties) on the small handles of the beacon (they are very fragile).